TREAT - Progress Notes
Completing the Note Template
Overview
Completing a note template has three components: a top section for note details, a middle section for the note content, and a bottom section for linked items.
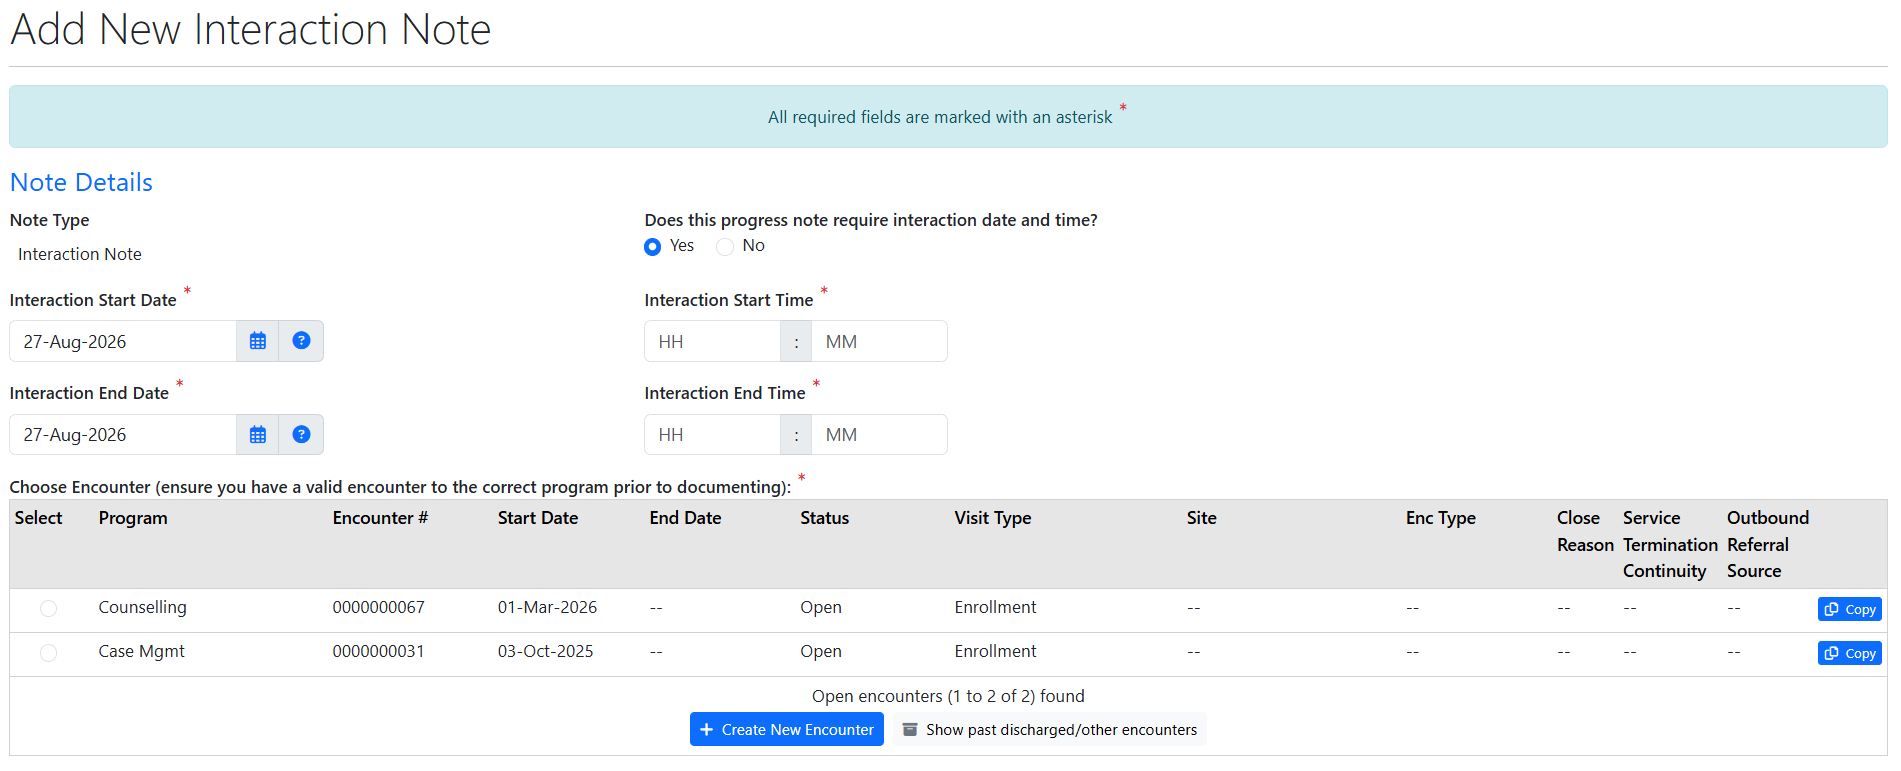
Top Section - Interaction Details
The top section includes note type, whether there was an interaction (Yes or No), and the interaction date and time. If there is an interaction date, there must also be a time. If the note was created from an appointment, this information is auto-populated.
If there is no appointment and no interaction, for example when you speak with another worker about the client, set Interaction to No and leave the dates and times blank.
If there is only one encounter, it is defaulted. If there are multiple encounters, select the correct one. If there is no encounter, there is nothing to select.
Collaborators and Co-signers
Collaborators are other workers involved with the note. One worker documents the note and lists the others as collaborators.
Co-signers receive a notification that their co-signature is required. See Co-signing a Note for the full workflow.

Middle Section - Content
The middle section depends on the template and can include dropdowns, radio buttons, small text boxes, large text areas, and canned text.

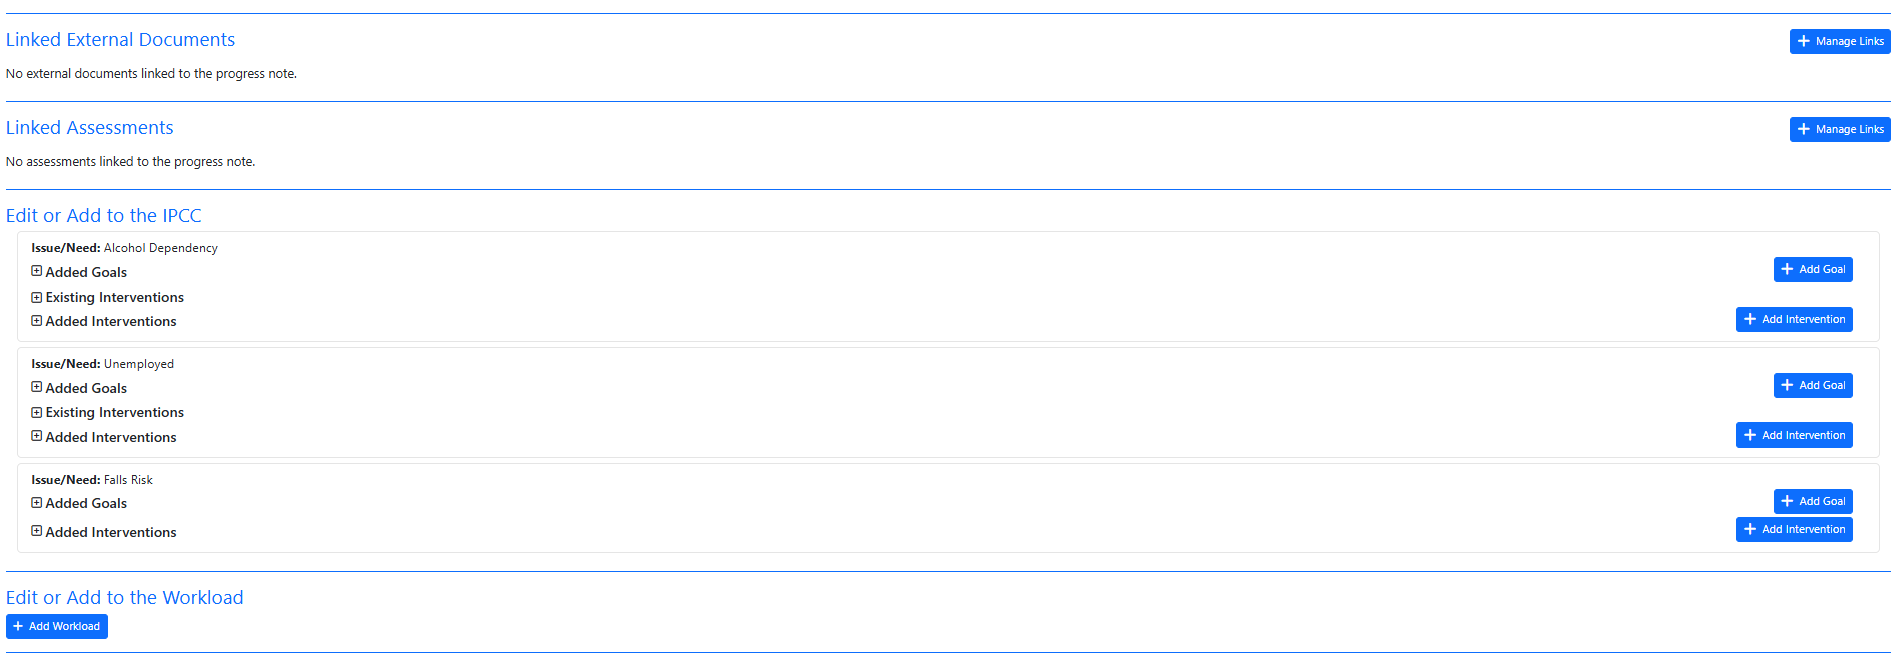
Bottom Section - Linked Items
If applicable, the bottom section allows you to link external documents, add workload such as direct and indirect time, add activities such as bus tickets or gift cards, edit/add to the IPCC, and link assessments.
Signing the Note
Select SIGN NOTE when the note is complete. VIEW CLIENT'S CHART opens the client chart in a read-only pop-up window so you can look up information elsewhere in the file without leaving the note.

Training Video
Completing the Note Template - User Instructions | Author: Michael Marchese | 2026-07-17
Was this article helpful?
That’s Great!
Thank you for your feedback
Sorry! We couldn't be helpful
Thank you for your feedback
Feedback sent
We appreciate your effort and will try to fix the article